Should You Use Loctite to Mount a Scope: Check Right Now!
There are effects you need to know should you use Loctite to mount a scope, during repairs, or attach extra aftermarket accessories to your rifle.
We shall review different scope mounting methods and the appropriate steps when applying a thread locker. Below is a run-through of what you’ll learn in the following article:
- The dynamics of using Loctite for your sight mounts.
- Steps of mounting a rifle scope.
- How to prepare your rifle after the mounting process.
Let’s get started!
Should You Use Loctite to Mount a Scope? Detailed Answer
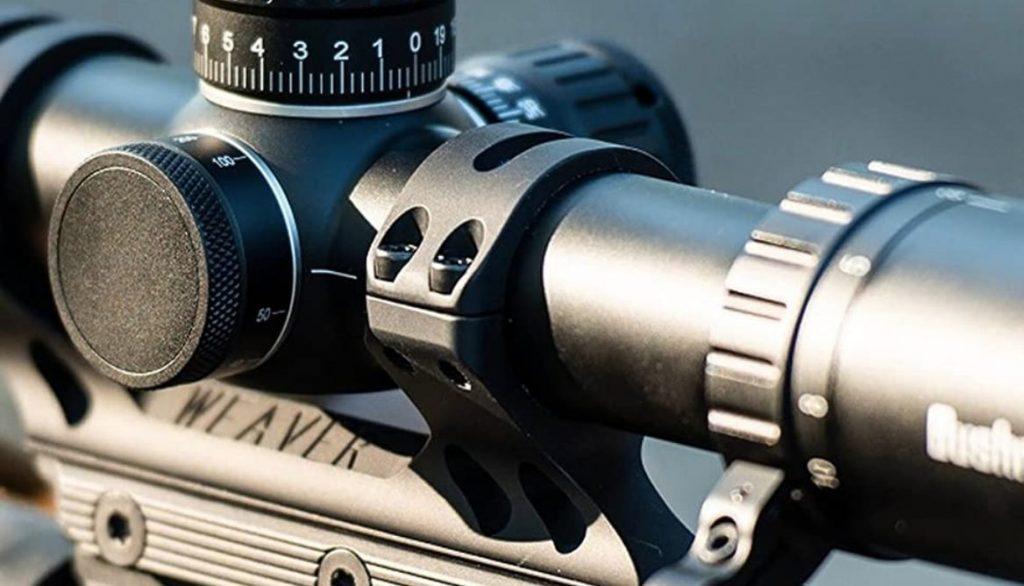
Firstly, Loctite ensures that each screw is tightened even in challenging shooting contexts. Loctite is optional on scope ring screws, and a tiny droplet on the threads is enough.
In case of using more than required, quality Loctite products are removable by simple processes, as discussed later in the post. One of the solutions will be reducing the torque specs before the Loctite solidifies.
Therefore, to get the best out of the Loctite glue, adhere to the following factors:
- Buy an approved product and ensure it’s removable.
- Use the right amount on each scope part; a small amount is usually enough.
- Have the right removal tools and products ready for uninstallation.
Should You Utilize Loctite On Your Guns?
Should you utilize Loctite, considering its disadvantages? We’ve got you covered with the best way to bypass the cons of using Loctite if you doubt the product.
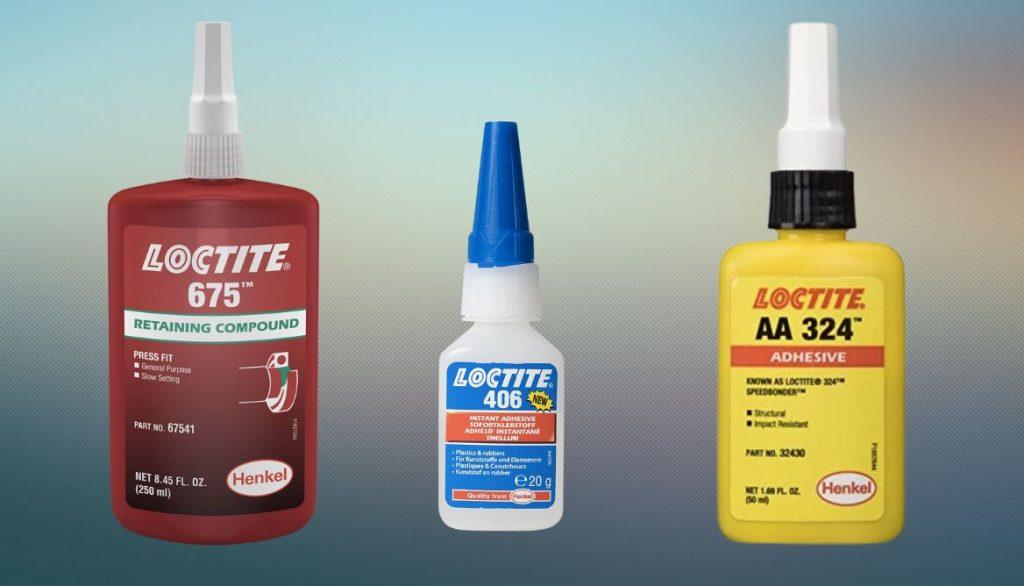
Best Loctite Thread Lock for Guns
You can find various varieties of brands categorized by color, including purple, red, green, and blue. The blue Loctite is ideal and has medium strength in the locking and sticking. You can utilize another brand only if it has an equal or lower strength.
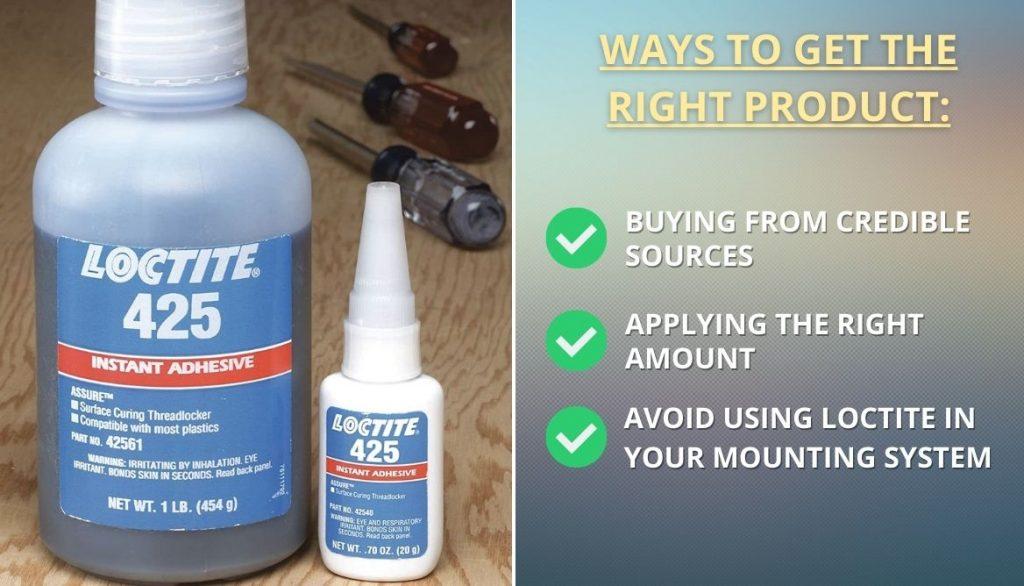
There are various ways to get the right product for your scope mount and avoid problems which include:
- Buying from credible sources
- Applying the right amount
- Avoid using Loctite in your mounting system if you are to unscrew or unmount the scope or other parts shortly after.
How to Get Loctite Off Your Guns
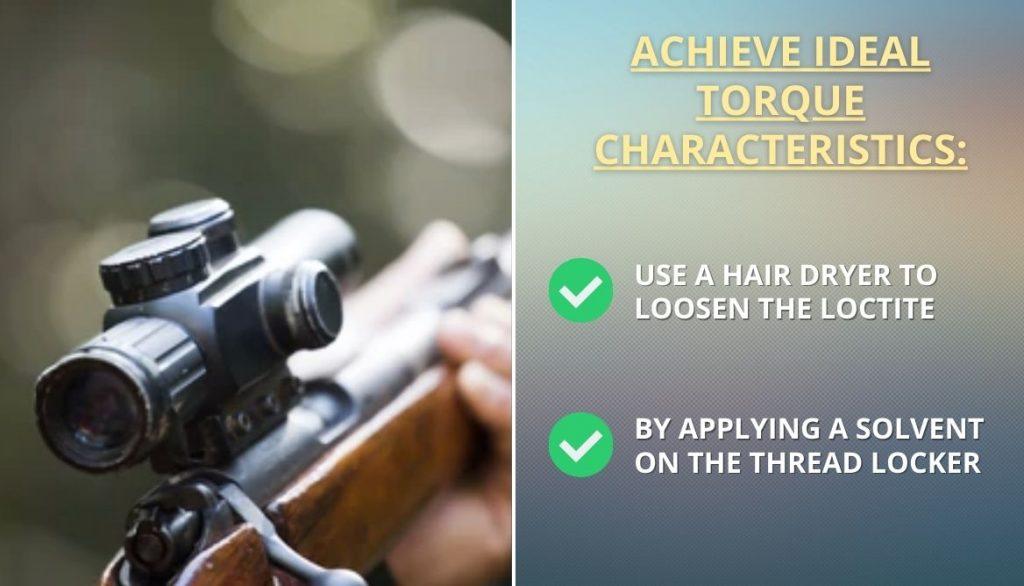
An error occurrence is fixed or removable in case of uninstalling or untightening the screws to achieve the ideal torque specs.
The removal technique is relatively easy, which includes loosening the Loctite through the following methods:
- Using heat from a heat gun or a hairdryer to loosen the Loctite.
- By applying a solvent on the thread locker.
After loosening it, attaining a proper torque will be the remaining factor; heads up, you should apply more power to make the overtightened Loctite lose.
Consensus on Using Loctite on Scope Mounts
Many shooters prefer Loctite without no hesitation, and there is a good number who oppose it. However, the divide is understandable considering the dynamics, which to some, include:
- The extra fee involved
- The difficulty of the general process
Entities Involved
Scope rings and bolt producers are adopting different varieties, which include types that can shutter and be picked out if unable to make it lose. So, this is what they advise:
- Manufacturers: They discourage the product and instead offer scope rings and bolts that fit your optic mount preference. These companies emphasize the difficulty of unlocking scope rings as enhanced by the Loctite.
- Other parties (gun experts and gunsmiths): They advise shooters to buy Loctite as a last resort to tighten their scopes.
Universally Tightening and Lock Method
The universally accepted tightening and lock method use a torque tool, measuring in lbs/inch. This method is usually ideal for rings and base screws where different entities like Vortex Optics recommend the following standard adjustments:
- Sights ring screw settings: 15 to 17 lbs/inch
- Base screws torque: 14 lbs/inch
- Windage bolts setting: 40 lbs/inch
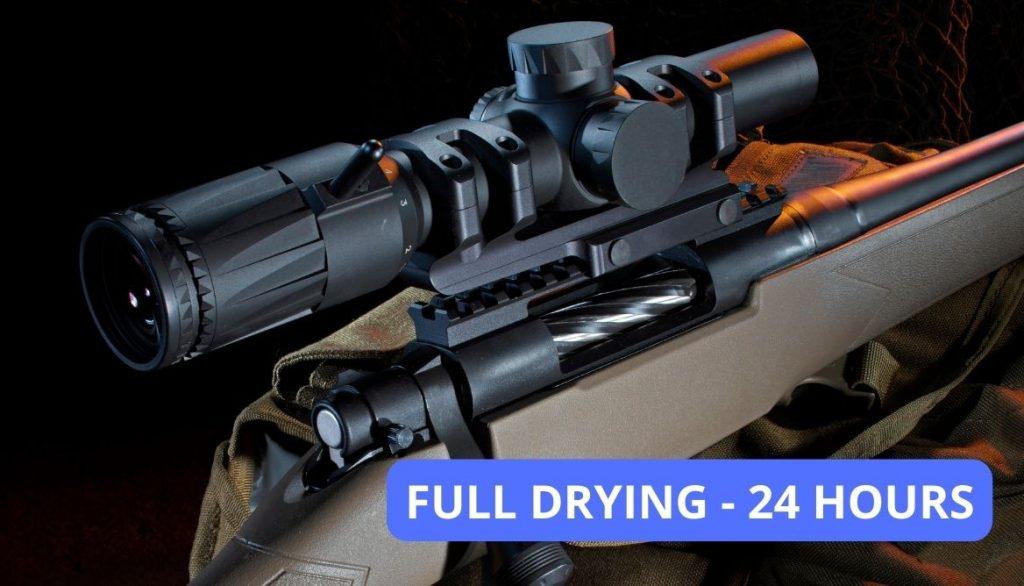
How Long Does Loctite Take to Dry?
The locker gets set with a lack of air which usually takes up to 24 hrs.
Moreover, cure begins when the product is confined between adjacent metal surfaces, and any overexposure to air disrupts the process.
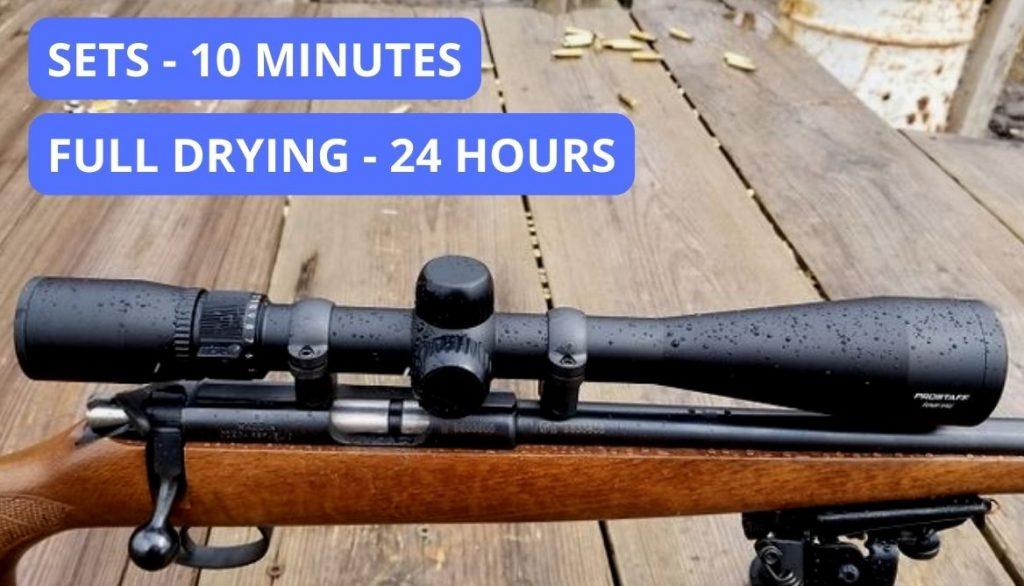
How Long Does a Loctite Threadlocker or Retaining Compound Take to Dry?
Any quality Loctite and other retaining agents will take 10-20 minutes to set. However, they will require 24 hours to stiffen into plastic (known as curing).
How to Fasten Blue Loctite Curing Process
- Ensure the gun material or mounting parts metal/make is fit for the glue.
- Utilize higher temperatures, at least 22 degrees Celsius.
- Using an activator to fasten the process, especially on inactive metals with glue.
How Long Does Loctite Super Glue Take to Dry?
An excellent super glue dries and sets quickly, especially when the parts utilized aren’t touched for at least 10 minutes to attain maximal strength properties. As mentioned above, you can double-check after 24 hours for the complete curing process.
The super glue comes in handy on broken mounting parts, as it contains adhesion properties that will work for metal and plastic materials.
Tips for Improving the Drying Process
- Proper exposure to more air moisture fastens the drying process.
- Using a heating object to increase the temperature that, in return, fastens the curing.
- Using a primer that blocks exposed pores on the applied glue’s surface, thus increasing the adhesion bond.
When improving the drying process, note that some plastic materials require extra effort, as the primer’s low porosity can be a problem. Your best chance with an issue is buying glue meant for plastic material.
How to Mount a Scope in 7 Easy Steps
Different rifle brands will have other methods of mounting your preferred scope, while some also provide the basics, like a railed barrel for your scope mount.
Follow the discussed steps to get an insight into how you can install different mountings on various guns and scope mount designs.
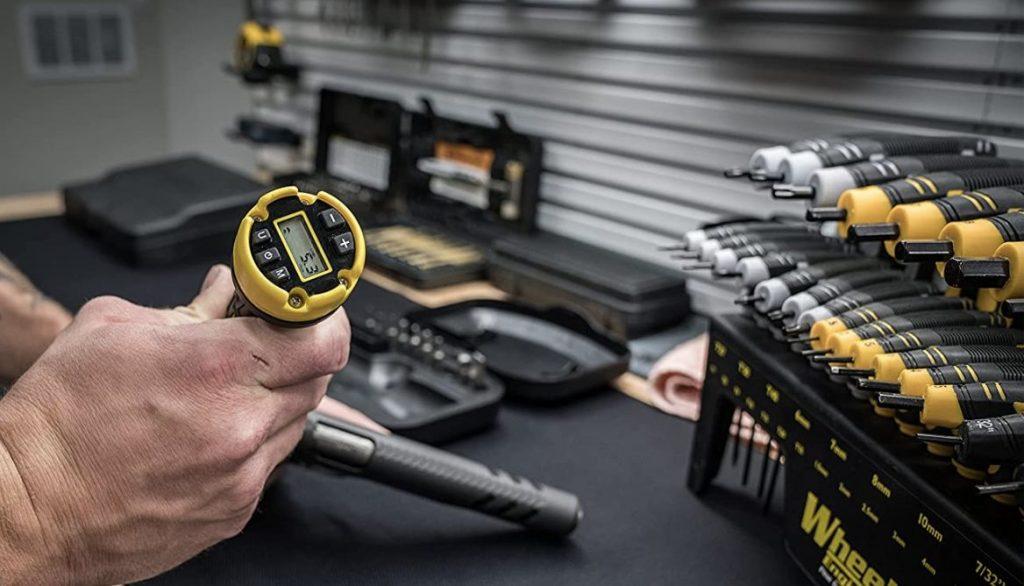
Step 1: Gather the Right Tools
Some scope brands provide these tools with the mounting kit, usually at an additional cost.
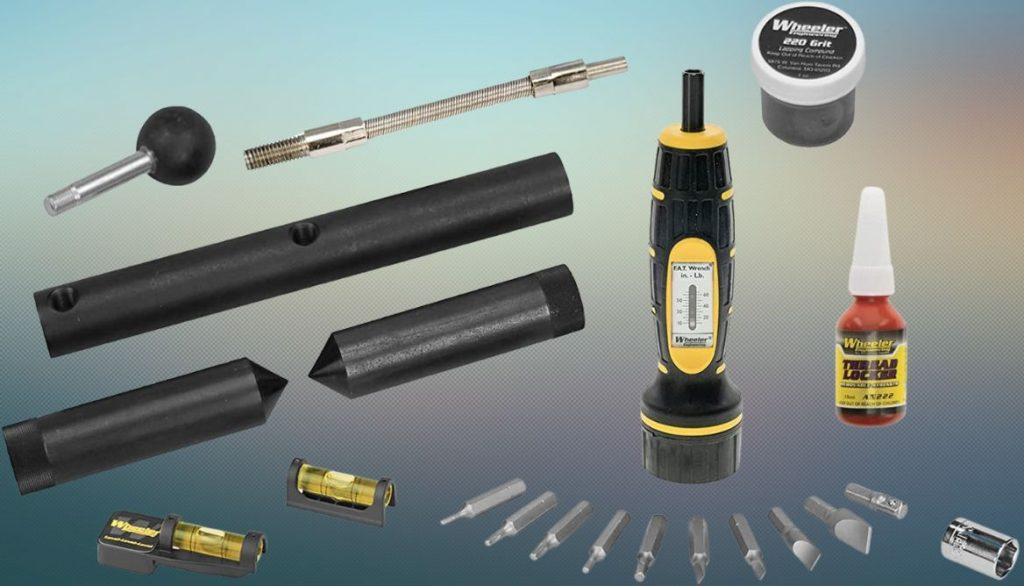
However, various gun stores near you will have you sorted. Just make sure you confirm the right fit for your work. To get you started, here are the primary tools required to install your scope body.
The Needed Tools
Product | Type | Price |
Vortex Optics Torque Set | Torque Wrench | |
Arisaka Optic Leveler Combo | Leveler | |
Heavy Duty Threadlocker | Torque Wrench | |
Tipton Gun Butler | Container |
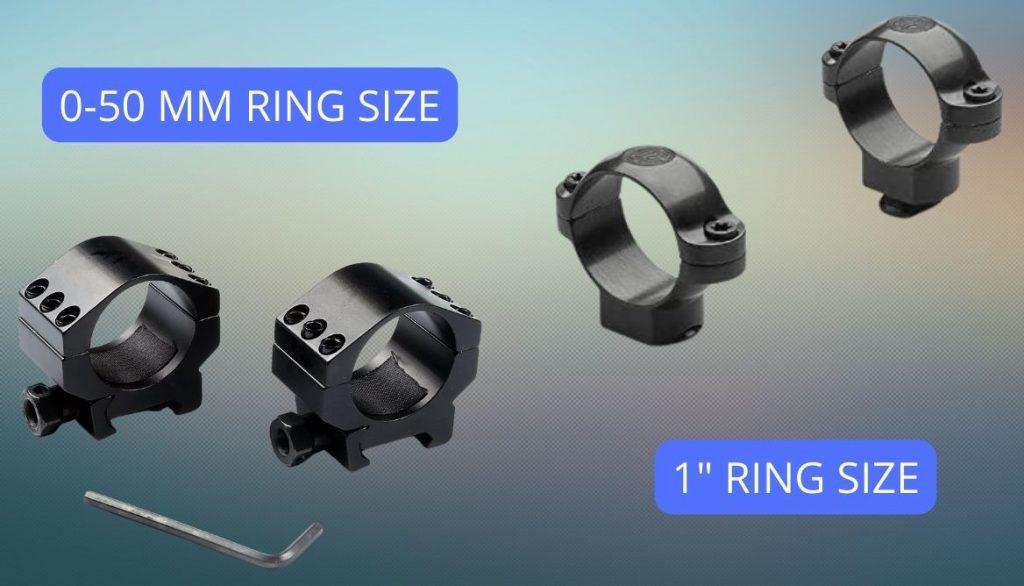
Step 2: Choosing the Appropriate Mount Bases and Ring Screws
Your rifle scope design and tube will act as your reference point to get bases and rings of the right fit. Also, ensure that alternative mounting designs provide a convenient solution to utilize necessary bases and rings.
As mentioned above, some rifles have an already set scope base, mainly the Picatinny rail system. Nonetheless, you’ll need to adequately prepare for most rifles that do not include such scope mount features.
Typically, here are things you should do:
- Find suitable scope rings after sorting out the rifle’s base.
- Attach the rings to your set base.
- Configuring the ideal height for your scope, not too close to your rifle or too high.
You’ll find locating the appropriate rings and bases relatively challenging. You can search your optic and firearm online to check the correct sizes. The table below provides brief details on some of the base options.
Picatinny | Dovetail | Cross Slots | Integral | Quick detach | |
Base Interface: | Tactical Shooting | Rimfire type, Hunting | Hunting & Plinking | For light guns & Hunting | Hunting guns using iron scopes |
Purpose/use: | Various mounting points | Simple, lightweight | Cheap & A shooter’s | Simple and light | A quick release & good backup |
Pros: | Heavy & Bulky | Not that strong Use with small guns | Material isn’t strong Use with small guns favorite | Few scope mounting locations “Standard”/ “traditional” | Unstable, a good backup |
Cons: | Strong, Well rated | FIt for front & back | Few mounting points | Hunting, cheap, outdated | Few mount points |
Step 3: Installing the Base to Your Rifle
With every tool available, have your base/scope ring ready for the initial stage of installing your scope mount.
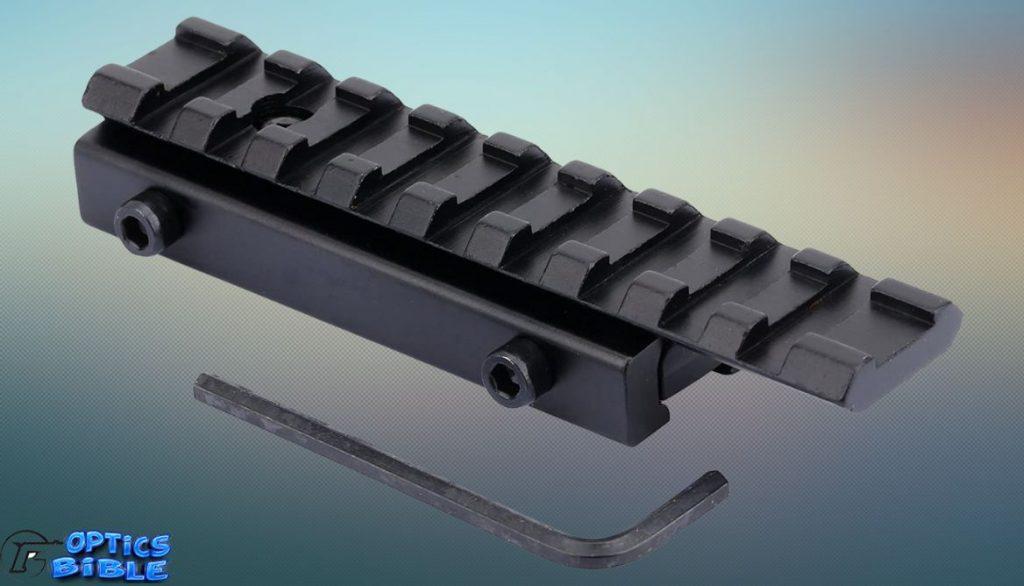
This process is vital if you utilize a rifle with no custom base or another integral system. With that said, here are the stages you go through when attaching your scope base:
- Preparing the Mounting Surface: Ensure that the surface is clean, where you can also utilize lubricants such as gun oils. This step will help you avoid rusting on your gun and mounting system.
- Ready the base for mounting: Tighten the screws coming with the base and those on the rifle system to get the best tight fit after the final installation. Also, ensure that the bolt action, including the receiver, is properly aligned.
- Final step: Extract one base screw, utilize a half drop of the recommended Loctite (if necessary) to the screw threads, and insert the screw back. Do the same to the remaining screws.
Note: When using a tool, we advise using between 20-22 lbs/inch and not exceeding 25 lbs/inch at any point.
Step 4: Attaching Your Scope Rings to the Base
Here are steps to follow when attaching your optic:
- Connect rings to the base, followed by the optic, as the base determines the spacing of the rings and not the scope.
- Install the scope rings to your base and configure the system on the opposite side of the ejection.
- With the knowledge that inertia forces impact the system, place your scope rings forward before tightening them. With this mode, their movement when firing is limited.
- Tightening the scope rings gives you the green light to attach your preferred scope.
Step 5: Adjust the Scope’s Position to Fit You
When attaching the scope to the rings, it is ideal if you ensure it is loosely fit for more effortless movement. Here are steps to follow for a successful adjustment:
- Move your sight back and forth to assess the position offering the best visibility performance. You can do this action while in a shooting position.
- Use the best lighting situation when finding the best scope position, where the ideal setting point is known by the best eye relief achieved.
No worries if you have to readjust rings, a regular occurrence in the general installation process, and you’ll utilize the steps mentioned above.
You might also need to adjust the scope according to the ideal position and head movement. You can buy taller scope rings or change the setting of your rifle comb.
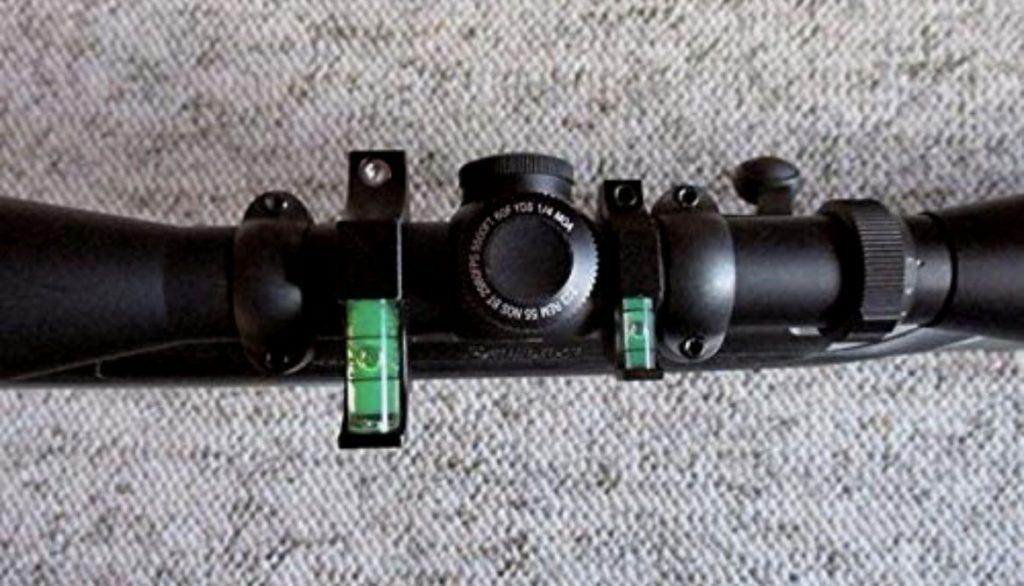
Step 6: Level Your Rifle Scope
Based on your rifle, there are two ways to deal with leveling your optic, which are:
- Leveling a flat-bottomed sight: You can use the tools recommended above, where you should be capable of aligning your scope by inserting the tool’s wedge. With the right one, the optic will align via a simple rotation, and you should tighten the optic rings if you’re satisfied with the alignment.
- Leveling round-bottomed optics: These varieties are rare in the market and are more challenging to level. If you own such a variety, you can use a set of levelers to scale the rifle scope and double-check by using a level on the top cap or simply “eyeball” it.
Step 7: Use a Torque Wrench to Secure Scope Ring Screws
The final stage will have you tighten the screws on the installation system. Like changing a car wheel, work on these screws in an X pattern where you apply a single rotation simultaneously until they are tight enough.
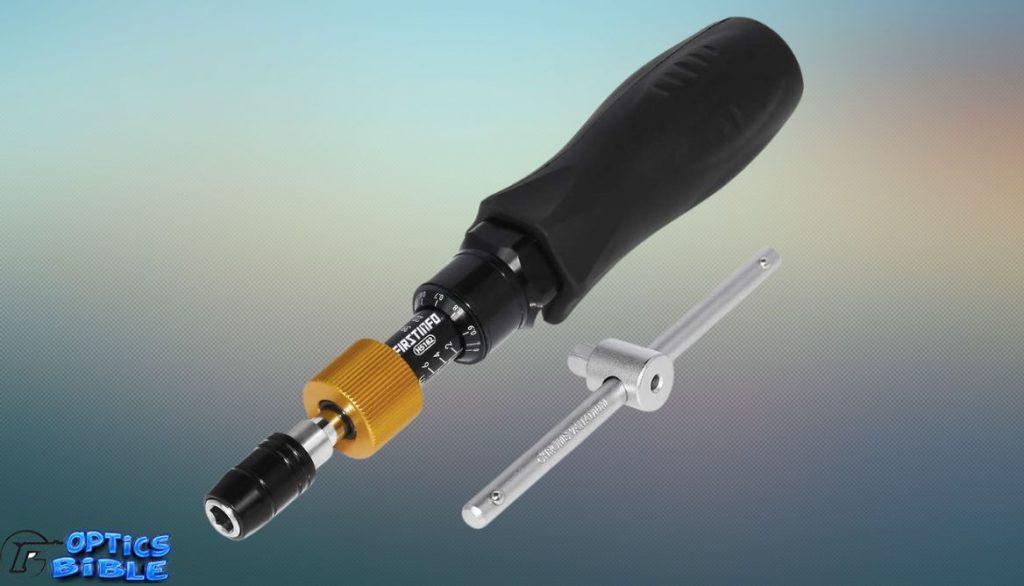
A configuration of 15 lbs/inch for regular mounts is ideal, while 20-22 lbs/inch is recommended if you’ll be shooting under heavy recoil. You can apply Loctite to the sight’s rings if necessary to achieve the ideal modifications.
Preparing Your Rifle
Congratulations if you’ve successfully mounted your scope and utilized a Loctite appropriately. What remains is adjusting your rifle parts to the perfect settings for a productive shooting day/drill.
Here are the primary adjustments you should prioritize to guarantee maximum output from your gun and, most importantly, your optic.
How to Zero Your Optic
It would be best to visit a shooting range where you will shoot from different positions.
Use a dummy or a bulls-eye target to determine how off or set your zero is after each shot. Each adjustment done the right way will get you closer to the best accuracy settings.
How to Adjust Your Rifle Scope
Having dealt with the zero point, follow up by configuring your rifle scopes. The process is technical due to its significance in the general use of the scope.
- Locate the two essential knobs you’ll utilize in this stage, where the top dial sets your crosshairs while the side one adjusts your scope on either side.
- Make the needed modifications until your rifle is consistently accurate.
- Try from a different distance for further configurations.

If necessary, utilize an adjustment bore for extra modifications, where such a gadget, like a laser bore sight, helps save your ammo.
Learning About Minutes of Angle (MOA)
To understand a scope’s MOA is learning about the reticle options provided by the scope brand. Therefore windage and elevation adjustments will be essential when you want to capitalize on your rifle’s precision, especially as a long-distance shooter.
FAQ
Which Loctite for gun optics?
A medium-strength Loctite is ideal for rifle scopes, as it is also easily removable.
What is the best Loctite for scope mounting?
The blue Loctite is the most recommended for scope installation purposes.
How long should Loctite dry before shooting?
Loctite usually takes 10-20 minutes to cure under ideal circumstances but usually takes 24 hours to cure around the screws fully.
Where should you not use Loctite?
Avoid using the product on extracted screws and bolts, especially on lightweight brands. Always ensure the material applied isn’t negatively reactive with the product.
Does Loctite affect torque values?
Yes, and you can reduce the values’ gap by 20% when using Loctite.
Do you need a primer for Loctite?
Yes, though only in cases do you need to cover pores created in the process, where the primer enhances the adhesion process.
Conclusion
There you have it on the aspects and dynamics involved when using a Loctite on your mounts. Ensure you follow each step carefully to get the maximum output of your rifle and scope.
So, would you prefer utilizing a Loctite on your rifle sight?
Leave a comment below with your answer and any other information on our discussed topics.
Tyler Purols
Tyler Purol is a professional Bowhunter. He has professional training in hunting. For many years he hunts regularly.